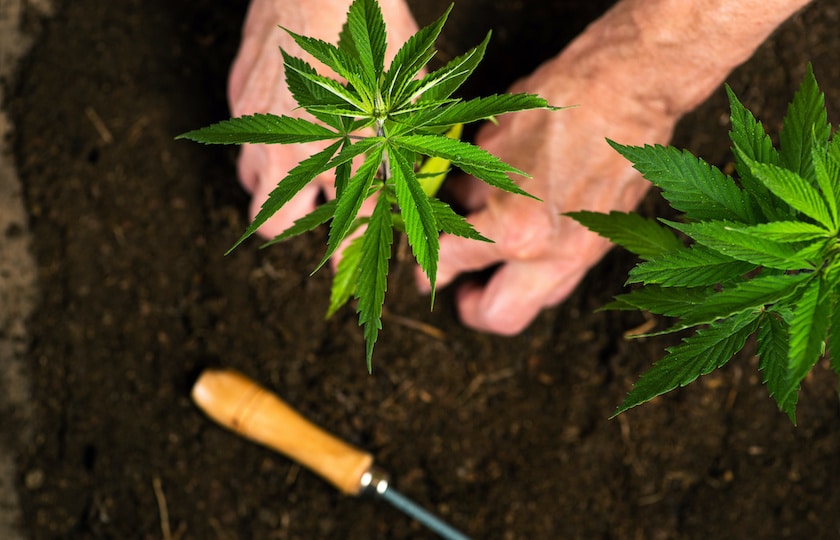
This Mother’s day, our friends in New Mexico may want to try their hand at something green. That’s why in this blog, we’ve got all of the details on how to start, care for, and maintain your very own mother plant!
What is a Mother Cannabis Plant?

Mother plants are essentially cannabis plants that are constantly kept in the vegetative state in order to obtain clones. These clones are planted to grow plants that are identical to the mother plant. Growing and maintaining a mother plant can often require a lot of time and space. Mother plants must be grown indoors in a room with lighting specifically dedicated to your mother plants’ needs. As a result, clones and other plants cannot be grown to full-term in the mother plant’s room. While it may seem tedious to dedicate an entire extra room to a mother plant, there are many benefits to having this set up.
The Benefits of Mother Plants
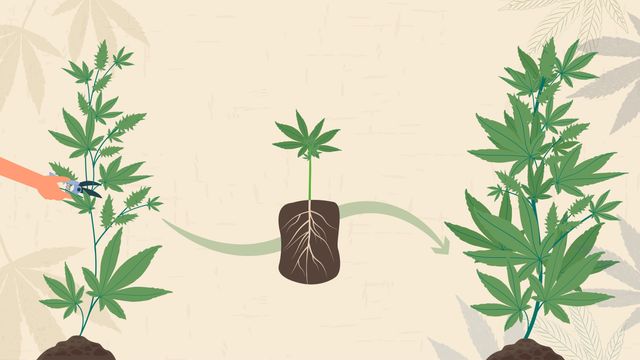
One of the main benefits of having a mother plant is that you will (theoretically) never run out of cannabis. If you fine-tune your process correctly, you can get a system going where your mother plant is ready to produce new clones just as your already planted clones are ready to harvest.
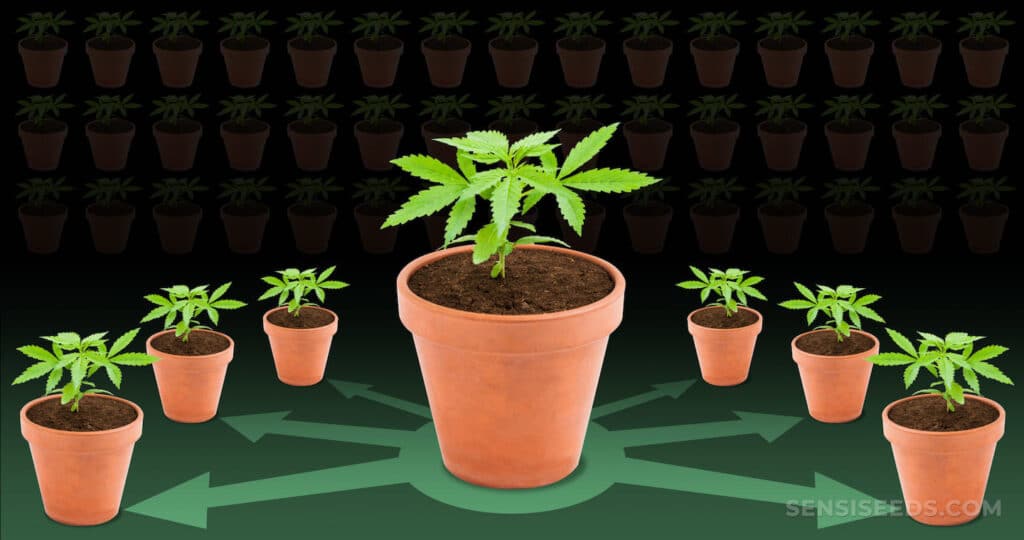
The other main benefit of keeping a mother plant is consistent results. When you grow clones from a mother plant, these clones will be genetically identical to the mother plant. This means each yield from your mother plant should be the same as the last as long as you keep your growing conditions consistent.
How to Start a Mother Plant
Before you begin, keep in mind it will take at least 5 to 6 months just to get that perfect mother plant. Remember, each clone will be nearly identical to your mother plant. So, you want to make sure your mother plant is an exceptional specimen worth cloning over and over.
Step 1: Pick your seeds
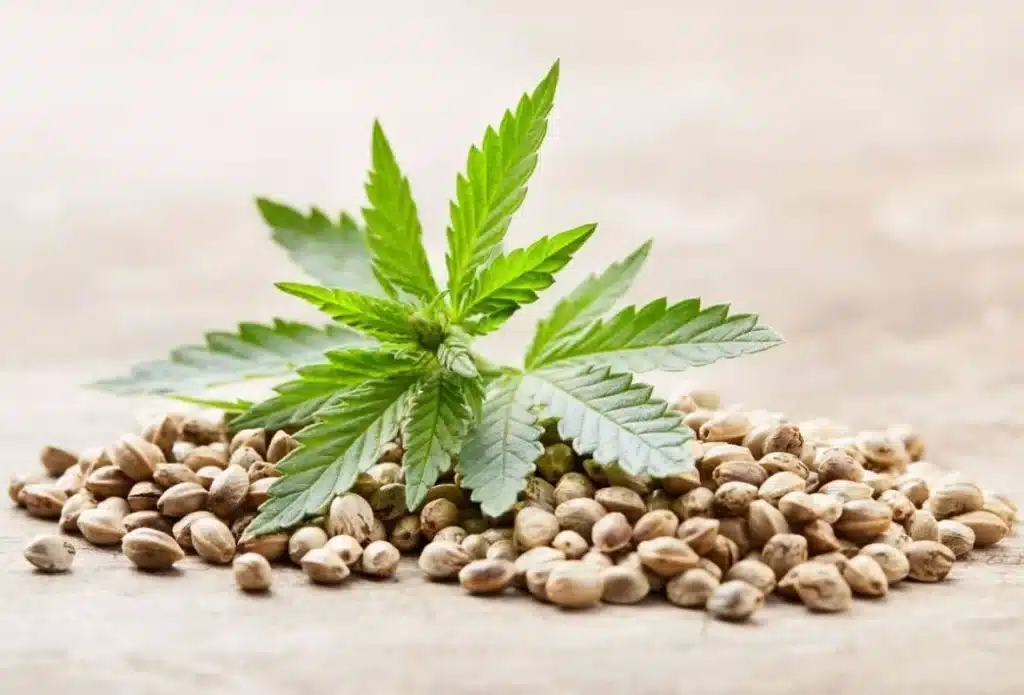
To begin, you will need to find seeds of a strain that you want to grow continuously. If you aren’t sure where to start, Blue Dream and Gorilla Glue #4 are reported to be some of the easier strains for beginners to grow. This is thanks to their natural pest resistance and fast flowering.
Step 2: Plant your seeds

Once you have your seeds chosen, you’ll want to grow at least 10 plants. Having at least 10 plants to choose from will allow you to have more options and ensure you’re getting the highest quality mother plant possible.
Germination
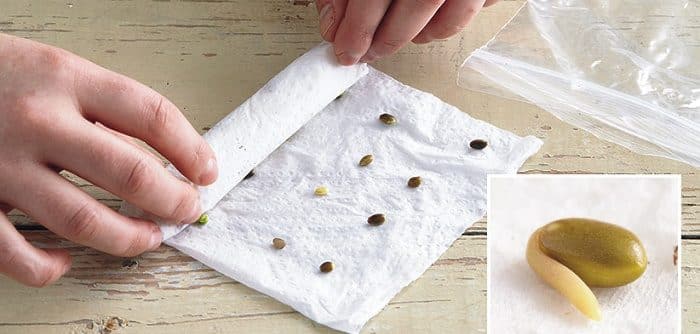
Image Source
The first step to planting your seeds is germinating them, or getting them to sprout. Germinating seeds indoors is the only way to control several factors like humidity, temperature, and light. To germinate your seeds, simply…
-
- Get a paper towel and run it under water until it is soaked
- Place seeds onto the paper towel
- Fold or roll the paper towel closed
- Place the paper towel into a ziplock bag
- Keep the ziplock bag in a warm area (75-85ºF)
Now, just wait 3 to 10 days until you begin to see your seeds germinate. If at any point the paper towel looks dry, feel free to spritz it with water to remoisten the seeds. They will be ready to plant once the roots are 1/4-1/2″ long.
Planting
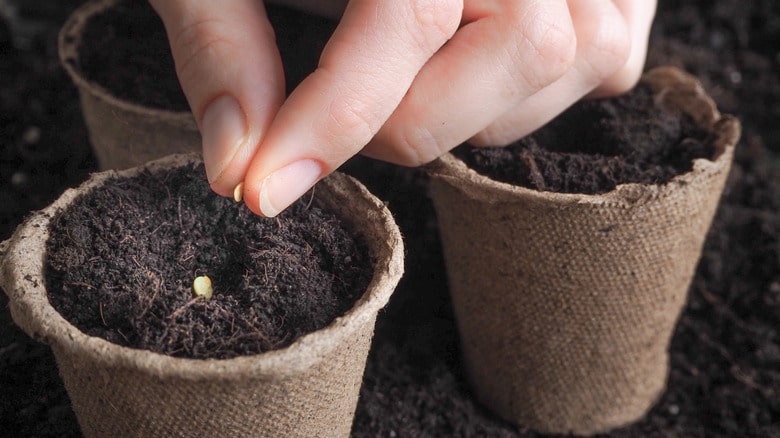
Once your seeds are ready to plant, get enough pots for each seed and fill each one 3/4 of the way with a substrate. For substrate, it is up to preference what you decide to use, but soil or coco coir are both perfectly fine options. Once your pots are full of the substrate, make a 1/4″ deep hole in the substrate. Then, plop your germinated seed into the hole. Now that your seed is in the hole, cover the top of the hole with more substrate.
Step 3: Care for your plant
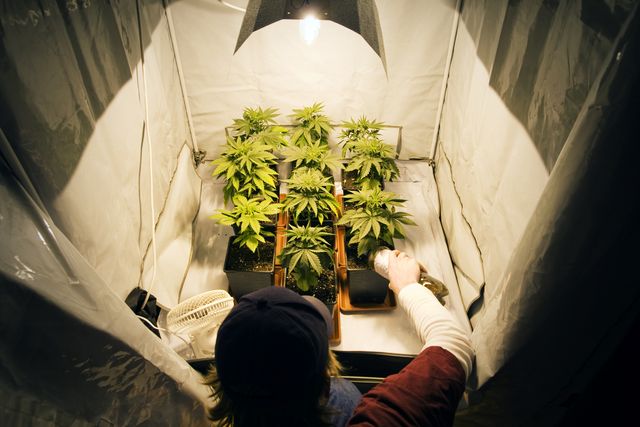
Now that your seeds are planted, keep them out of direct sunlight in a moist area that maintains a temperature of 75-85ºF. Be sure your plants are also getting light 18 hours a day with the use of a grow light. You will also want your plants to stay moist. This can be achieved by spraying them once or twice a day. Once your plants have been kept in these conditions for about a month, you can start taking cuttings.
Step 4: Test your clones
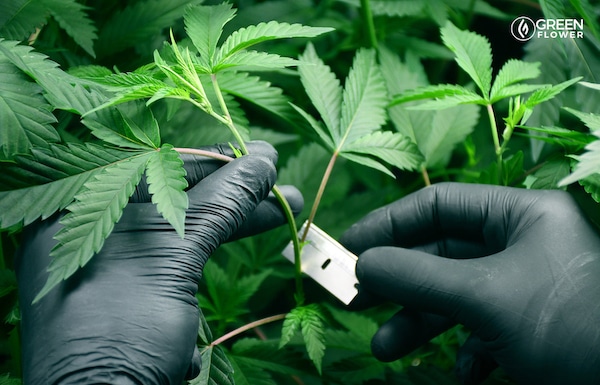
When taking cuttings, be sure to cut at a 45º angle just below the node of the bud you want to clone. Once you have your cutting, it’s time to transfer it into a pot of substrate. Place your clone into a pot of substrate and be sure the bottom is fully covered. Keep this clone in the same conditions as the mother plant until it has rooted. Once the plant is rooted, which could take up to 2 weeks, it’s time to move it into a separate grow room. Congratulations, you just cloned a cannabis plant!
How to Maintain Your Mother Plant
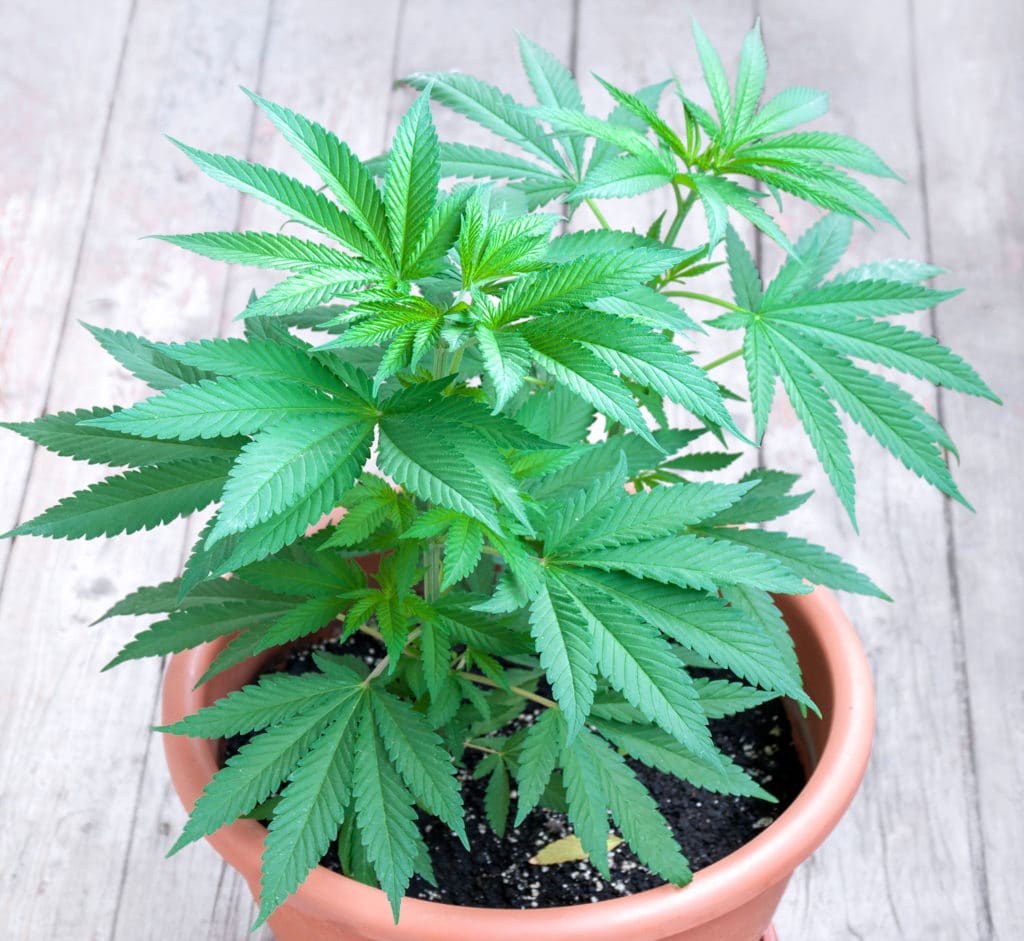
By maintaining an environment that is moist, kept at a temperature of 75º-85ºF, and receives 18 hours of light from a growing bulb you can keep your mother plant happy and healthy. While mother plants can produce a virtually unlimited number of clones, it is important to allow your mother plant to rest. Give your mother plant at least two weeks between cloning sessions to rest so as to not stress it out. Many growers also choose not to use one mother plant indefinitely, and instead swap it out with a clone every 6-12 months.
Mother’s Day Sale
We don’t just care about mother plants here at Cinder. We love all moms! That’s why we’re showing love to all of the moms out there with 20% of our edible and flower selection here at Cinder during Mother’s Day weekend (5/13-5 /14) this year. Plus, if you download and order through our app on iOS or Android, your order will be ready for you to pick-up in store!

Please consume responsibly. For use only by adults 21 and older; Keep out of reach of children; This product is not approved by the FDA to treat, cure, or prevent any disease. FDA has not evaluated this product for safety, effectiveness, and quality; Do not drive a motor vehicle or operate machinery while under the influence of cannabis; There may be long term adverse health effects from consumption of cannabis, including additional risks for women who are or may become pregnant or are breastfeeding.


